m (→Notable loot) Tag: sourceedit |
m (→Notable loot) Tag: sourceedit |
||
| Line 33: | Line 33: | ||
==Notable loot== |
==Notable loot== |
||
| − | * [[ |
+ | * [[Power armor (Fallout 4)|Power armor]] - Leveled full set. Located in a terminal-locked cage on a barge northeast of Pickman Gallery. |
| − | * [[ |
+ | * [[Message to Jack]] - On a [[Raider (Fallout 4)|raider]]'s corpse, in the "art" room to the left of the entrance. |
| + | * [[Surgical mask (Fallout 4)|Surgical mask]] - Located on the second floor, on a table with a pair of handcuffs near a dead Raider on a red gurney (if it is somehow knocked to the floor, it can be very difficult to spot). |
||
| − | * [[Lockpicking bobblehead]] - On the ground by the center pillar (there's a fire next to it) in the last chamber before exiting. Near the flaming trash can, where one meets Pickman. |
||
| ⚫ | |||
| ⚫ | |||
| ⚫ | |||
| ⚫ | |||
* 2 [[Vault-Tec lunchbox]]es: |
* 2 [[Vault-Tec lunchbox]]es: |
||
| ⚫ | |||
** In the basement's first room, northwest corner, held by a skeleton. |
** In the basement's first room, northwest corner, held by a skeleton. |
||
| ⚫ | |||
| ⚫ | |||
| ⚫ | |||
| − | * [[Power armor (Fallout 4)|Power armor]] - Located on a barge NE of Pickman Gallery. Full set of leveled power armor in a terminal locked cage on the barge. |
||
| + | * [[Lockpicking bobblehead]] - On the floor beside a burning trash can in the center of the room where you find Pickman. |
||
| ⚫ | |||
| ⚫ | |||
| − | * [[Pickman's thank you note]] - Stored in the safe opened by Pickman's key, and is part of the reward given by Pickman for saving him from the raiders. |
||
| − | * [[Pickman's |
+ | * [[Pickman's thank you note]] - Stored in the safe opened by Pickman's Key, and is part of the reward given by Pickman for saving him from the raiders. |
| + | * [[Pickman's Blade]] - Also found in Pickman's safe. However, unlike the note, it can be found regardless of whether Pickman is alive or dead; just be sure to search his corpse for the key. |
||
==Notes== |
==Notes== |
||
Revision as of 19:33, 5 April 2016
Infobox incomplete
The infobox template in this article is missing some required data. You can help Nukapedia by filling it in.
|
The Pickman Gallery is a location in the Commonwealth in Fallout 4.
Layout
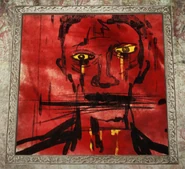
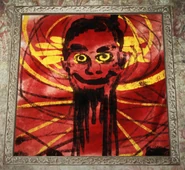
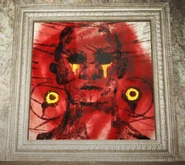
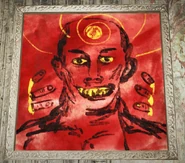
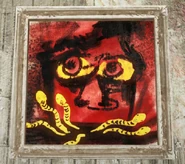
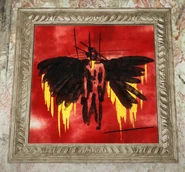
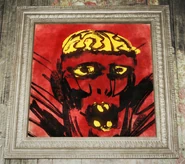
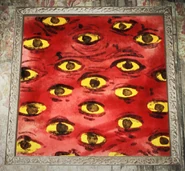
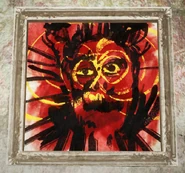
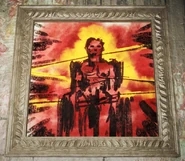
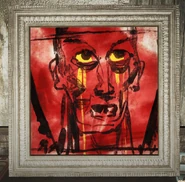
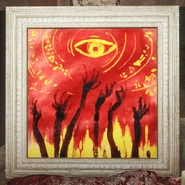
The upper sections of this three-floor house are filled with mutilated corpses and raiders. In the room to the immediate left of the entrance there are a number of unsettling paintings, which will cause companions to react. On the third floor is a weapons workbench.
There is a hole in the wall on the third floor which provides access to the basement.
Through the tunnels in the basement (entered through either a master level locked door on the ground floor or a hole in the wall on the top floor) the player character will arrive to find Pickman being attacked by Slab and a group of raiders. If the raiders are killed, Pickman will reward the player with his key to a safe behind a painting on the ground floor. The painting is in the northwest corner in the room with heads on pikes. If Pickman is killed the key may be looted from the body.
Notable loot
- Power armor - Leveled full set. Located in a terminal-locked cage on a barge northeast of Pickman Gallery.
- Message to Jack - On a raider's corpse, in the "art" room to the left of the entrance.
- Surgical mask - Located on the second floor, on a table with a pair of handcuffs near a dead Raider on a red gurney (if it is somehow knocked to the floor, it can be very difficult to spot).
- Missile launcher - Rigged to a tripwire in the western room on the third floor.
- 2 Vault-Tec lunchboxes:
- In the eastern room of the third floor, on top of the bed headboard shelf. It is likely to be displaced due to a raider triggering the missile tripwire on the opposte side of the landing.
- In the basement's first room, northwest corner, held by a skeleton.
- 2 Nuka Cola Quantums - In a crate on the pipe bridge in the underground tunnels.
- Pickman's key - Carried/given by Pickman, opens a safe.
- Lockpicking bobblehead - On the floor beside a burning trash can in the center of the room where you find Pickman.
- Astoundingly Awesome Tales #5 (+5 Poison Resistance) - On the floor in front of the steamer trunk in the room where you find Pickman.
- Pickman's thank you note - Stored in the safe opened by Pickman's Key, and is part of the reward given by Pickman for saving him from the raiders.
- Pickman's Blade - Also found in Pickman's safe. However, unlike the note, it can be found regardless of whether Pickman is alive or dead; just be sure to search his corpse for the key.
Notes
- The plungers and bloody hand prints found in the house's bathroom are a likely reference to the iconic "Plunger room of Death" from Fallout 3.
- A number of unsettling paintings are on display in the gallery, the first ten are on display in the room to the immediate left of the entrance, one is on display in the kitchen, and the final painting is in the basement.
- Nearby unmarked locations:
- Mean Pastries - south west, across the graveyard.
- Boxing Gym - south east.
Appearances
The Pickman Gallery only appears in Fallout 4.
Behind the scenes
- Both Pickman and the Gallery are references to the short story "Pickman's Model" by H.P. Lovecraft.
- Pickman's paintings are painted in the blood of his victims. a can of blood can be seen at the front of "the eye of sauron" painting in the basement of the building.
Bugs
- Hancock becoming a companion before completing and submitting locks out the dialogue option for submitting this quest. A workaround is to temporarily remove Hancock as a companion then talk to him again. If Hancock is a companion, open the dialogue options, and choose 'Talk'. Hancock will remark that when he gave you the quest, he did not mean take him there. The player will be rewarded with caps, and the quest will complete. [verification overdue]
- Sometimes the red entrance door to the gallery won't open, there is no focus to open the door. A solution is to (quick)save and reload, then the door could be opened.[verification overdue]
Gallery
Expansion required
This article is too short to provide more than rudimentary information about the subject. You can help Nukapedia by expanding it.
|

