| Pour les compagnons des autres jeux Fallout, voir compagnon. |
Modèle:Navbox aperçu FO4
| Cette page liste tous (toutes) les compagnons de Fallout 4. | |
| |
Compagnons permanents
Fallout 4 compte de base 13 compagnons permanents rencontrés au cours de l'aventure.
Lorsqu'un compagnon vous accompagne, ce dernier peut être renvoyé dans n'importe quel colonie à tout moment ou lorsque vous souhaitez changer de compagnon :
| Image | Nom | Localisation | Recrutement | Base S.P.E.C.I.A.L. | Point de vie | Quête personnelle | Aptitude | Romance |
|---|---|---|---|---|---|---|---|---|

|
Cait | Combat Zone | Après avoir nettoyé Combat Zone, elle vous sera "vendue" par Tommy | 5 FO, 10 PE, 7 EN, 7 CH, 7 IN, 10 AG, 7 CH | 185 + ([Niveau du joueur - 10] x 5) | Intervention bénigne | Poussée d'adrénaline | Modèle:Yes |
|
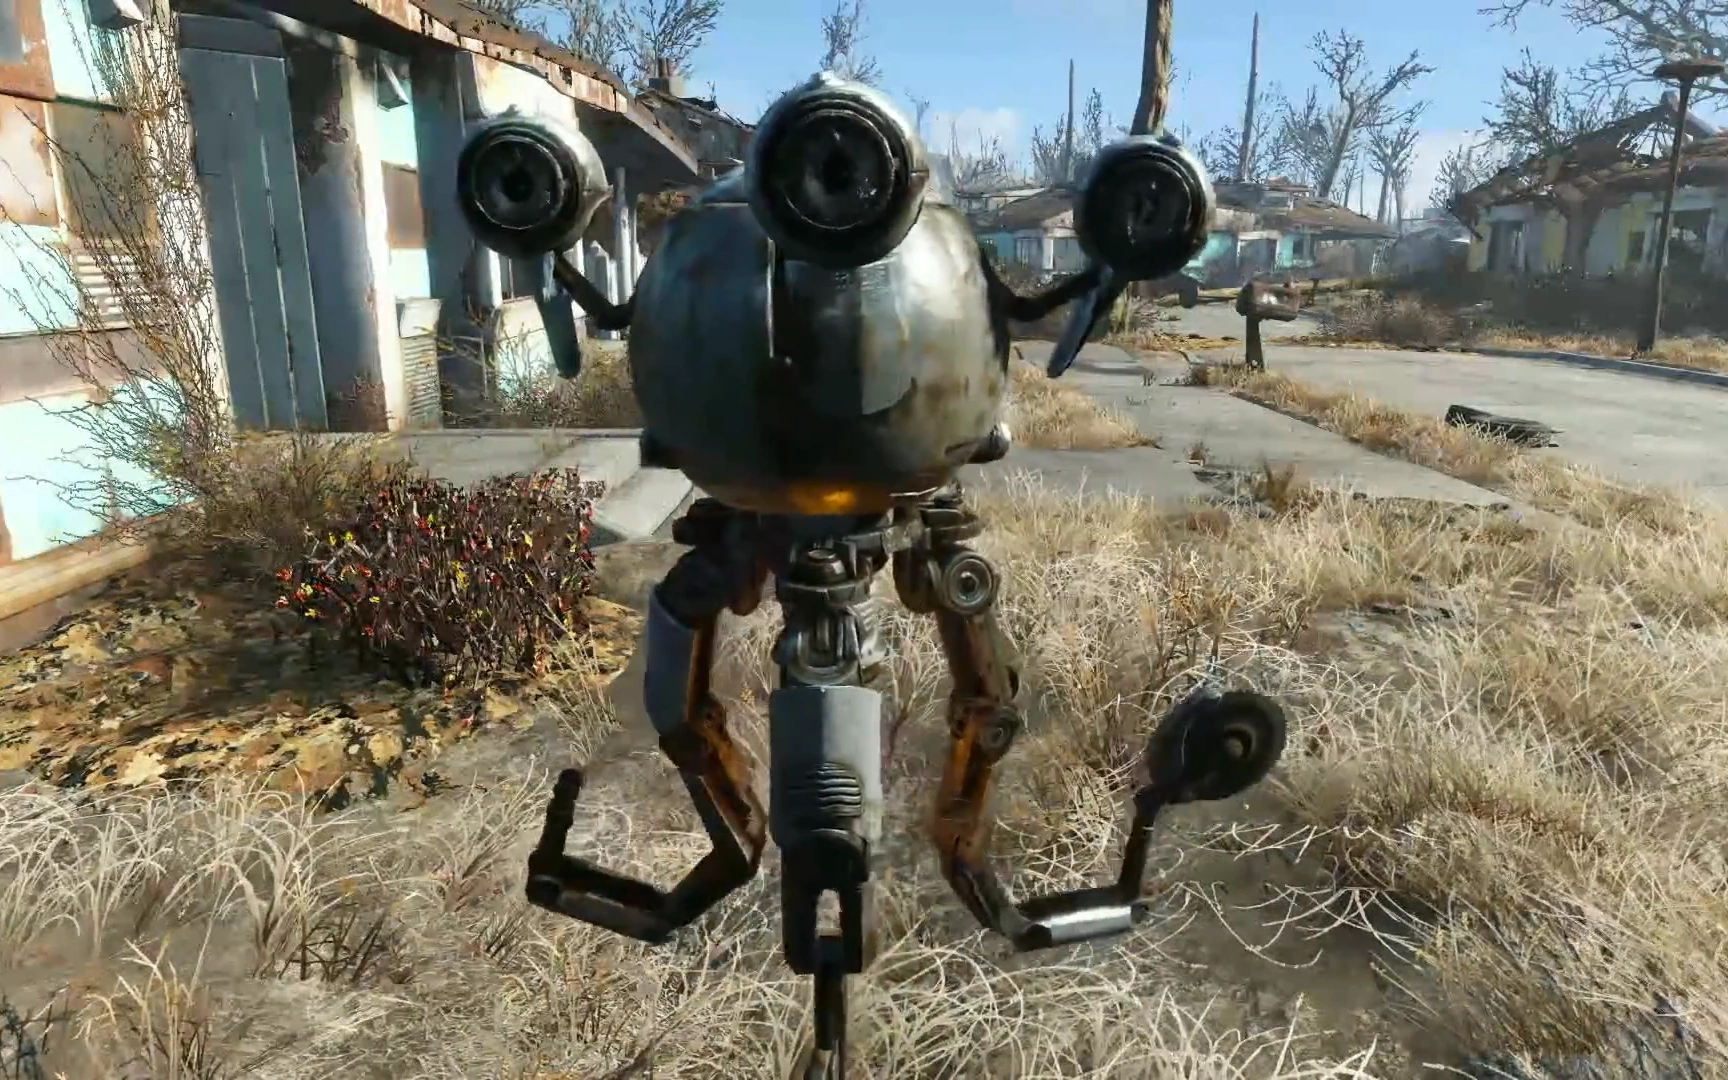
Codsworth | Sanctuary Hills | Demandez-lui de se joindre à vous après la mission Out of Time | 9 FO, 10 PE, 7 EN, 7 CH, 9 IN, 10 AG, 7 CH | 195 + ([Niveau du joueur - 10] x 5) | Robot Sympathy | Modèle:No | |
| Curie | Abri 81 | Finissez la mission Hole in the Wall | 5 FO, 4 PE, 4 EN, 4 CH, 4 IN, 4 AG, 4 CH (Synth) 4 FO, 4 PE, 4 EN, 4 CH, 11 IN, 4 AG, 4 CH (Miss Nanny) |
440 (Miss Nanny) 670 (Synth) |
Emergent Behavior | Combat Medic | Modèle:Yes | |
|
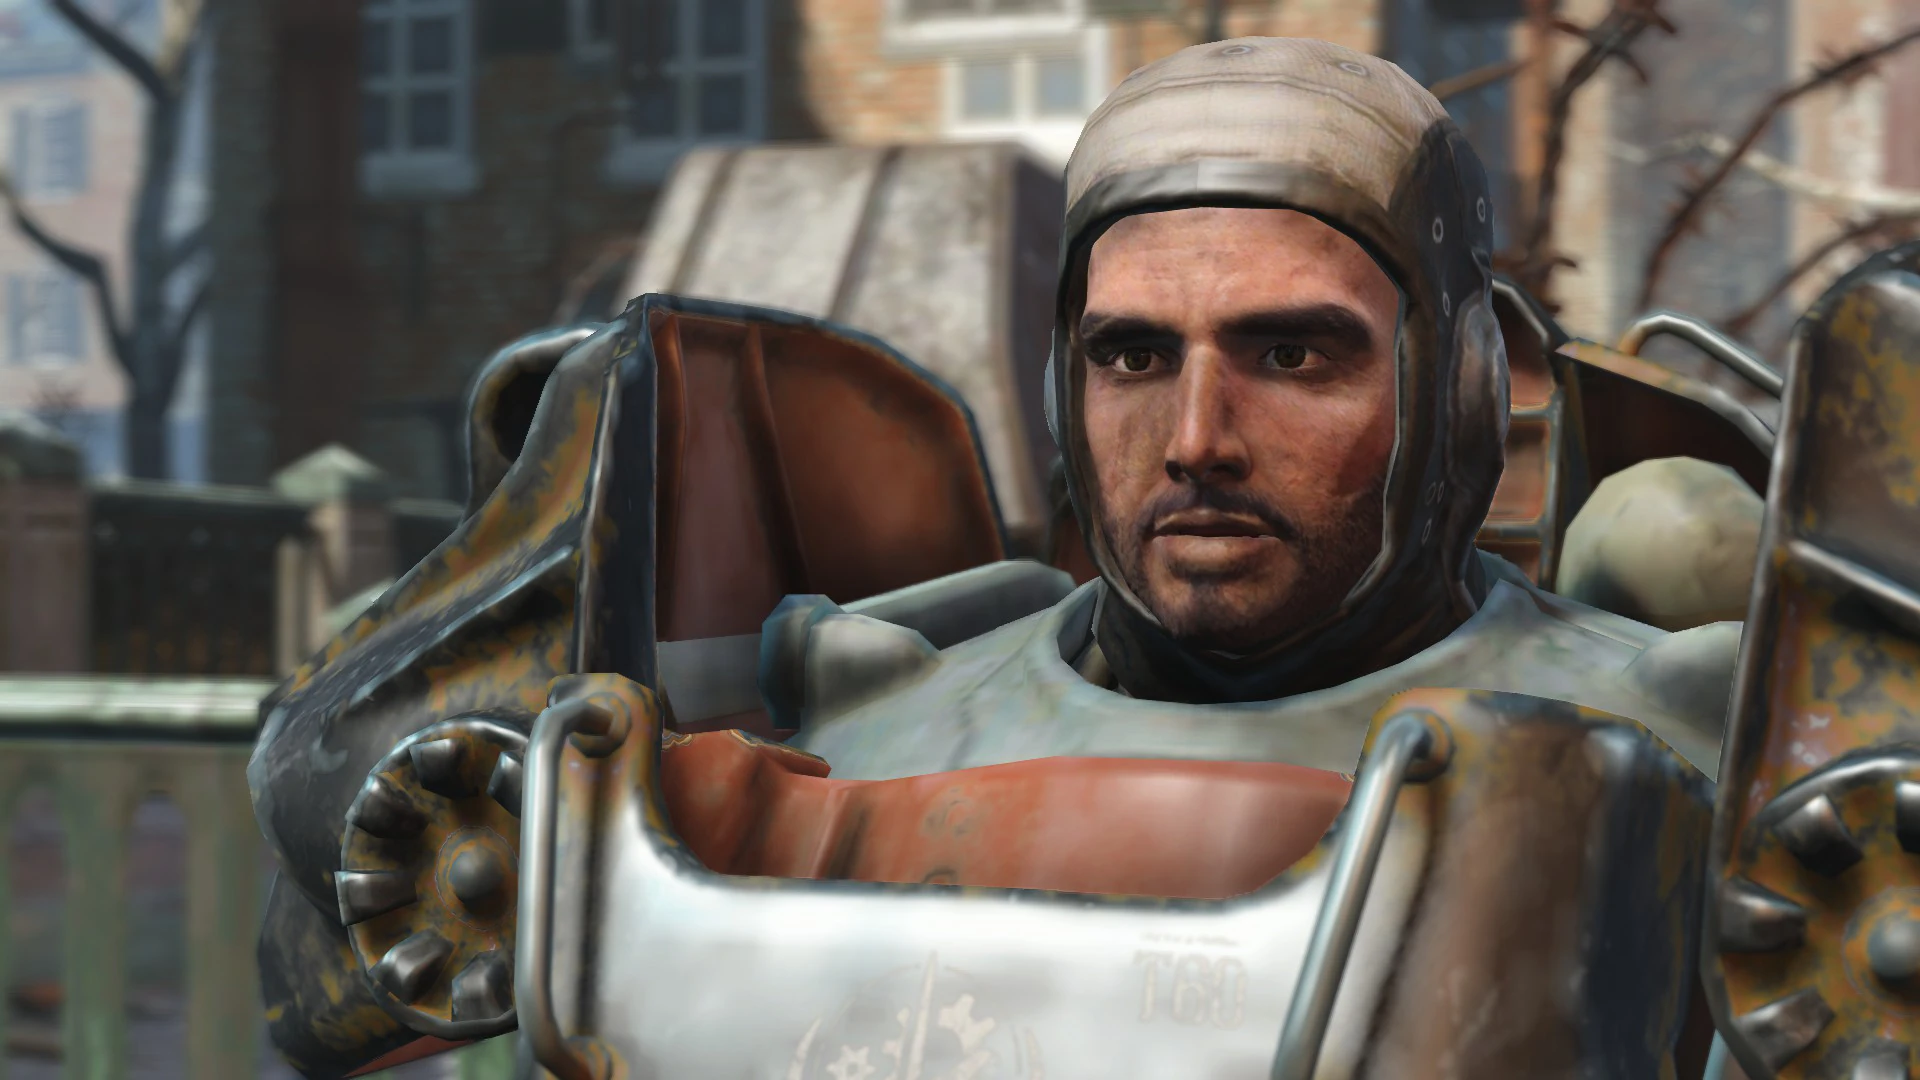
Paladin Danse | Commissariat de Cambridge Prydwen (après L'ombre de la Confrérie |
Upon receiving the quest Tour of Duty. | 5 FO, 10 PE, 8 EN, 8 CH, 8 IN, 10 AG, 7 CH | 185 + ([Niveau du joueur - 10] x 5) | Blind Betrayal | Know Your Enemy | Modèle:Yes |
|
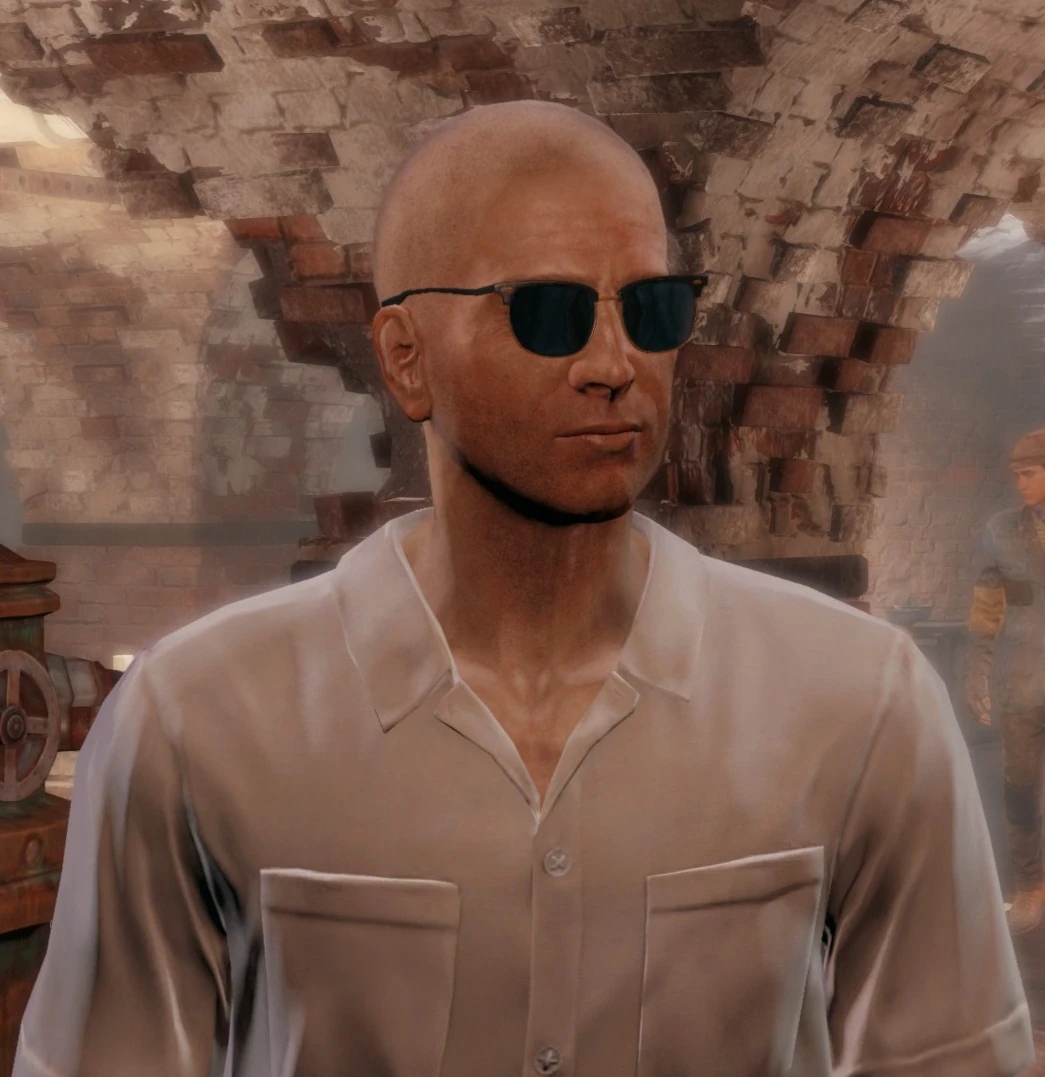
Deacon | QG du Réseau du Rail | Complete Tradecraft and join The Railroad | 5 FO, 10 PE, 7 EN, 9 CH, 8 IN, 10 AG, 8 CH | 185 + ([Niveau du joueur - 10] x 5) | Cloak & Dagger | Modèle:No | |
|
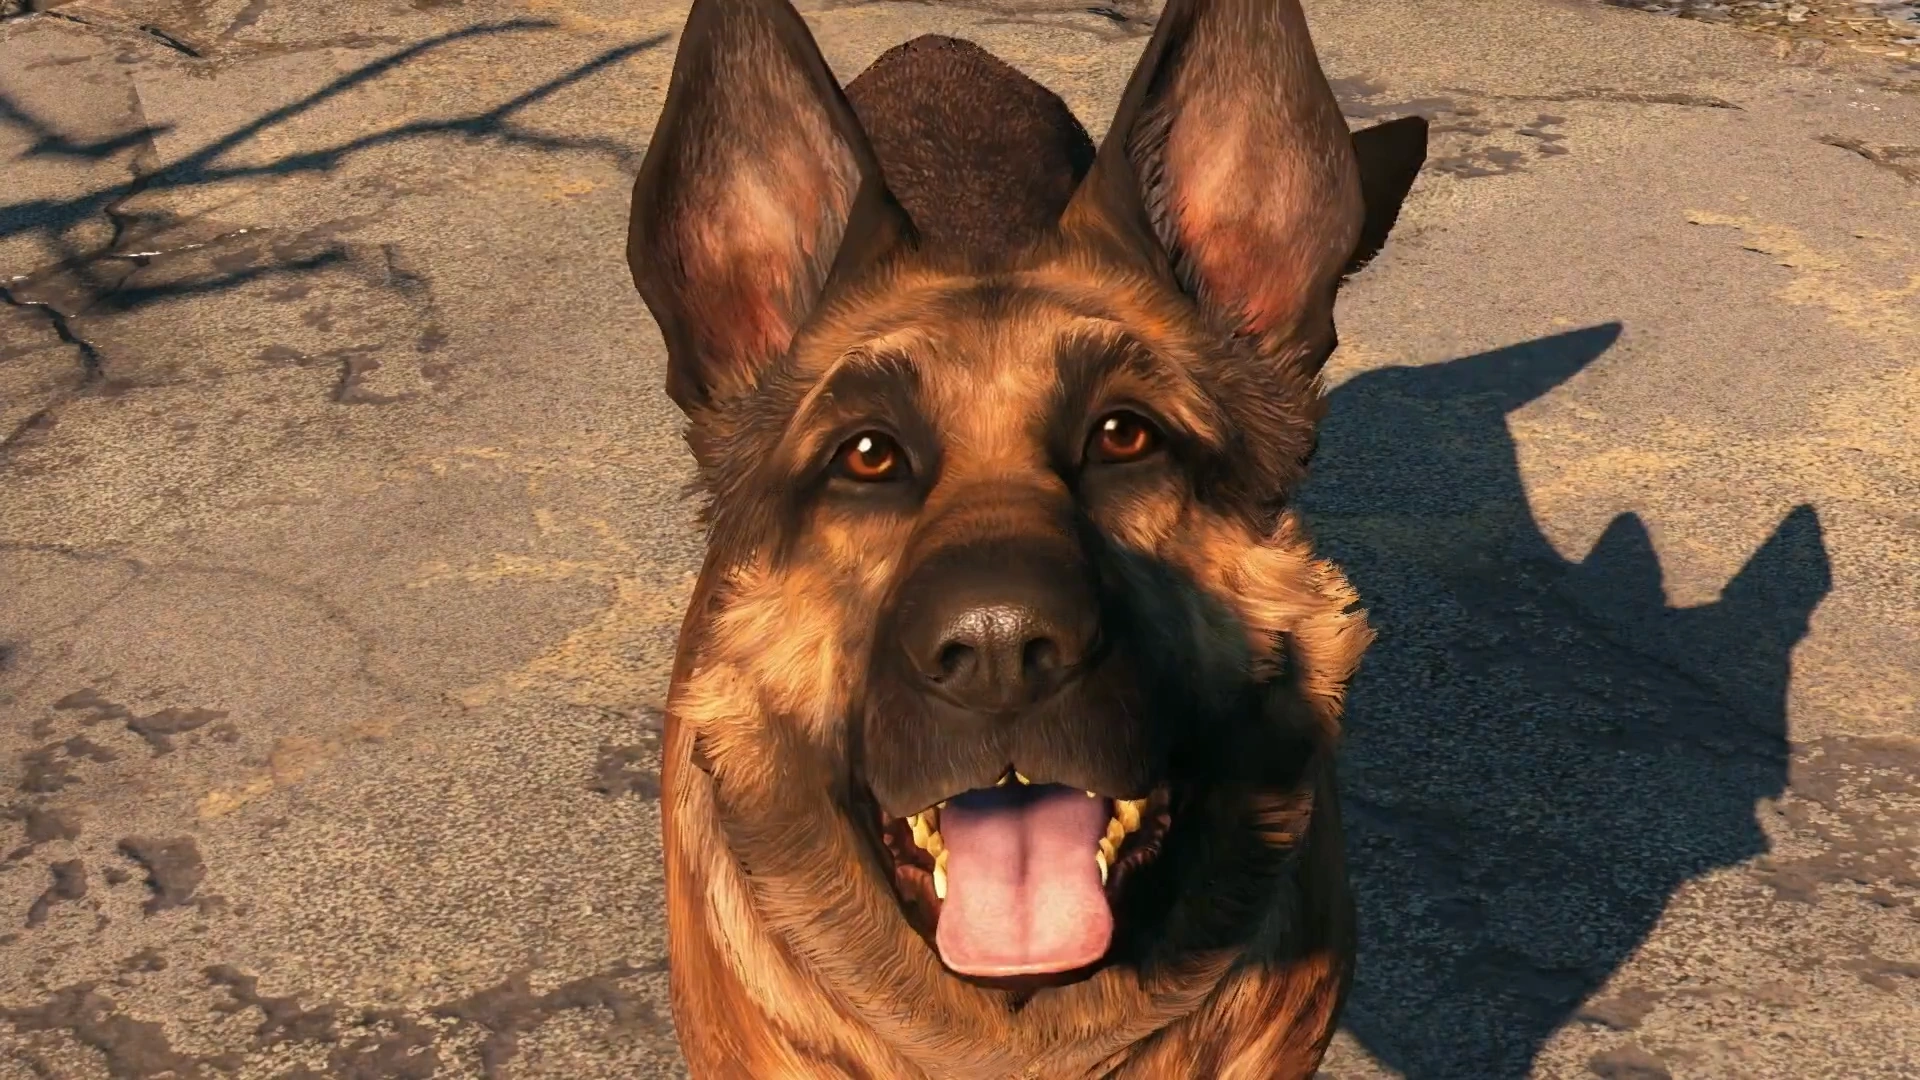
Canigou | Station Red Rocket | Se joint à vous automatiquement | 4 FO, 14 PE, 4 EN, 4 CH, 8 IN, 14 AG, 4 CH | 150 + ([Player Level - 1] x 5) | Attack Dog | Modèle:No | |

|
John Hancock | Old State House in Goodneighbor | Ask him to join after completing The Big Dig | 5 FO, 10 PE, 8 EN, 9 CH, 14 IN, 10 AG, 8 CH | 185 + ([Niveau du joueur - 10] x 5) | Isodoped | Modèle:Yes | |

|
Robert Joseph MacCready | Le Troisième Rail à Goodneighbor | Louez ses services pour 250 (200 Easy speech check) | 5 FO, 10 PE, 4 EN, 6 CH, 7 IN, 5 AG, 5 CH | 185 + ([Niveau du joueur - 10] x 5) | Long Road Ahead | Killshot | Modèle:Yes |

|
Nick Valentine | Vault 114 Diamond City after Unlikely Valentine |
Complete Getting a Clue | 5 FO, 7 PE, 8 EN, 8 CH, 16 IN, 10 AG, 8 CH | 225 + ([Niveau du joueur - 10] x 5) | Long Time Coming | Close to Metal | Modèle:No |

|
Piper Wright | Diamond City | Complete Story of the Century | 5 FO, 10 PE, 7 EN, 10 CH, 8 IN, 10 AG, 8 CH | 185 + ([Niveau du joueur - 10] x 5) | Gift of Gab | Modèle:Yes | |
|
Preston Garvey | Musée de la Liberté Sanctuary Hills (après L'appel de la Liberté |
Complete The First Step | 5 FO, 10 PE, 7 EN, 9 CH, 8 IN, 10 AG, 8 CH | 185 + ([Niveau du joueur - 10] x 5) | United We Stand | Modèle:Yes | |
|
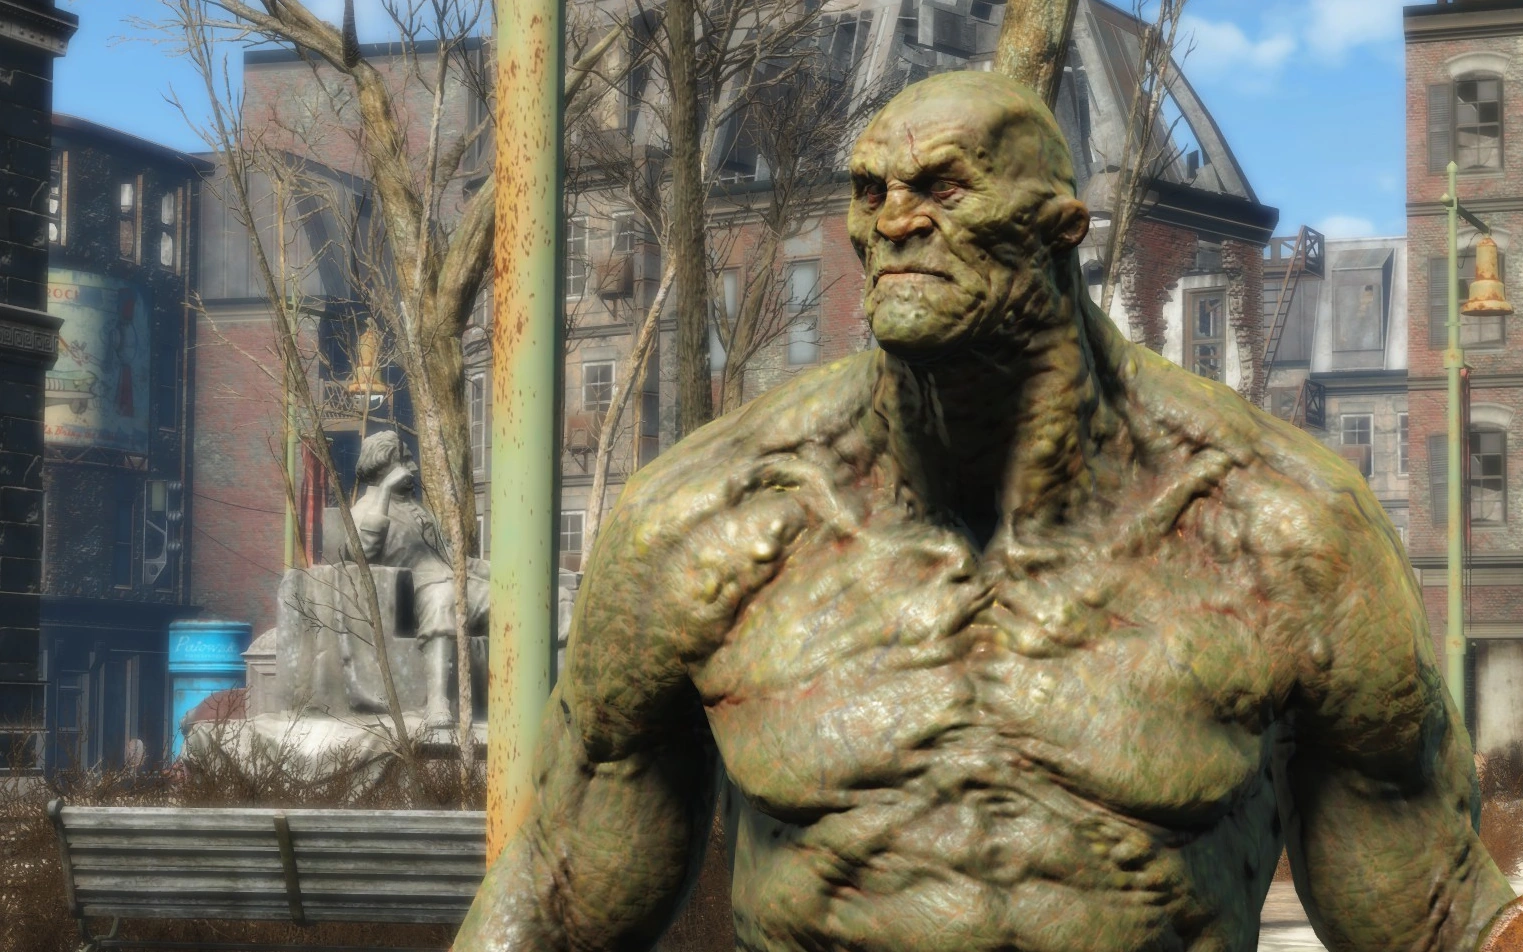
Strong | Trinity Tower | Ask him to join after Curtain Call | 24 FO, 12 PE, 8 EN, 1 CH, 6 IN, 18 AG, 1 CH | 245 + ([Player Level - 10] x 5) | Berserk | Modèle:No | |

|
X6-88 | The Institute | Joignez l'Institut et complétez L'humanité redéfini | 8 FO, 10 PE, 9 EN, 7 CH, 9 IN, 10 AG, 7 CH | 185 + ([Niveau du joueur - 10] x 5) | Shield Harmonics | Modèle:No |
Compagnons du DLC Automatron
| Image | Nom | Localisation | Recrutement | Base S.P.E.C.I.A.L. | Point de vie | Quête personnelle | Aptitude | Romance |
|---|---|---|---|---|---|---|---|---|
|
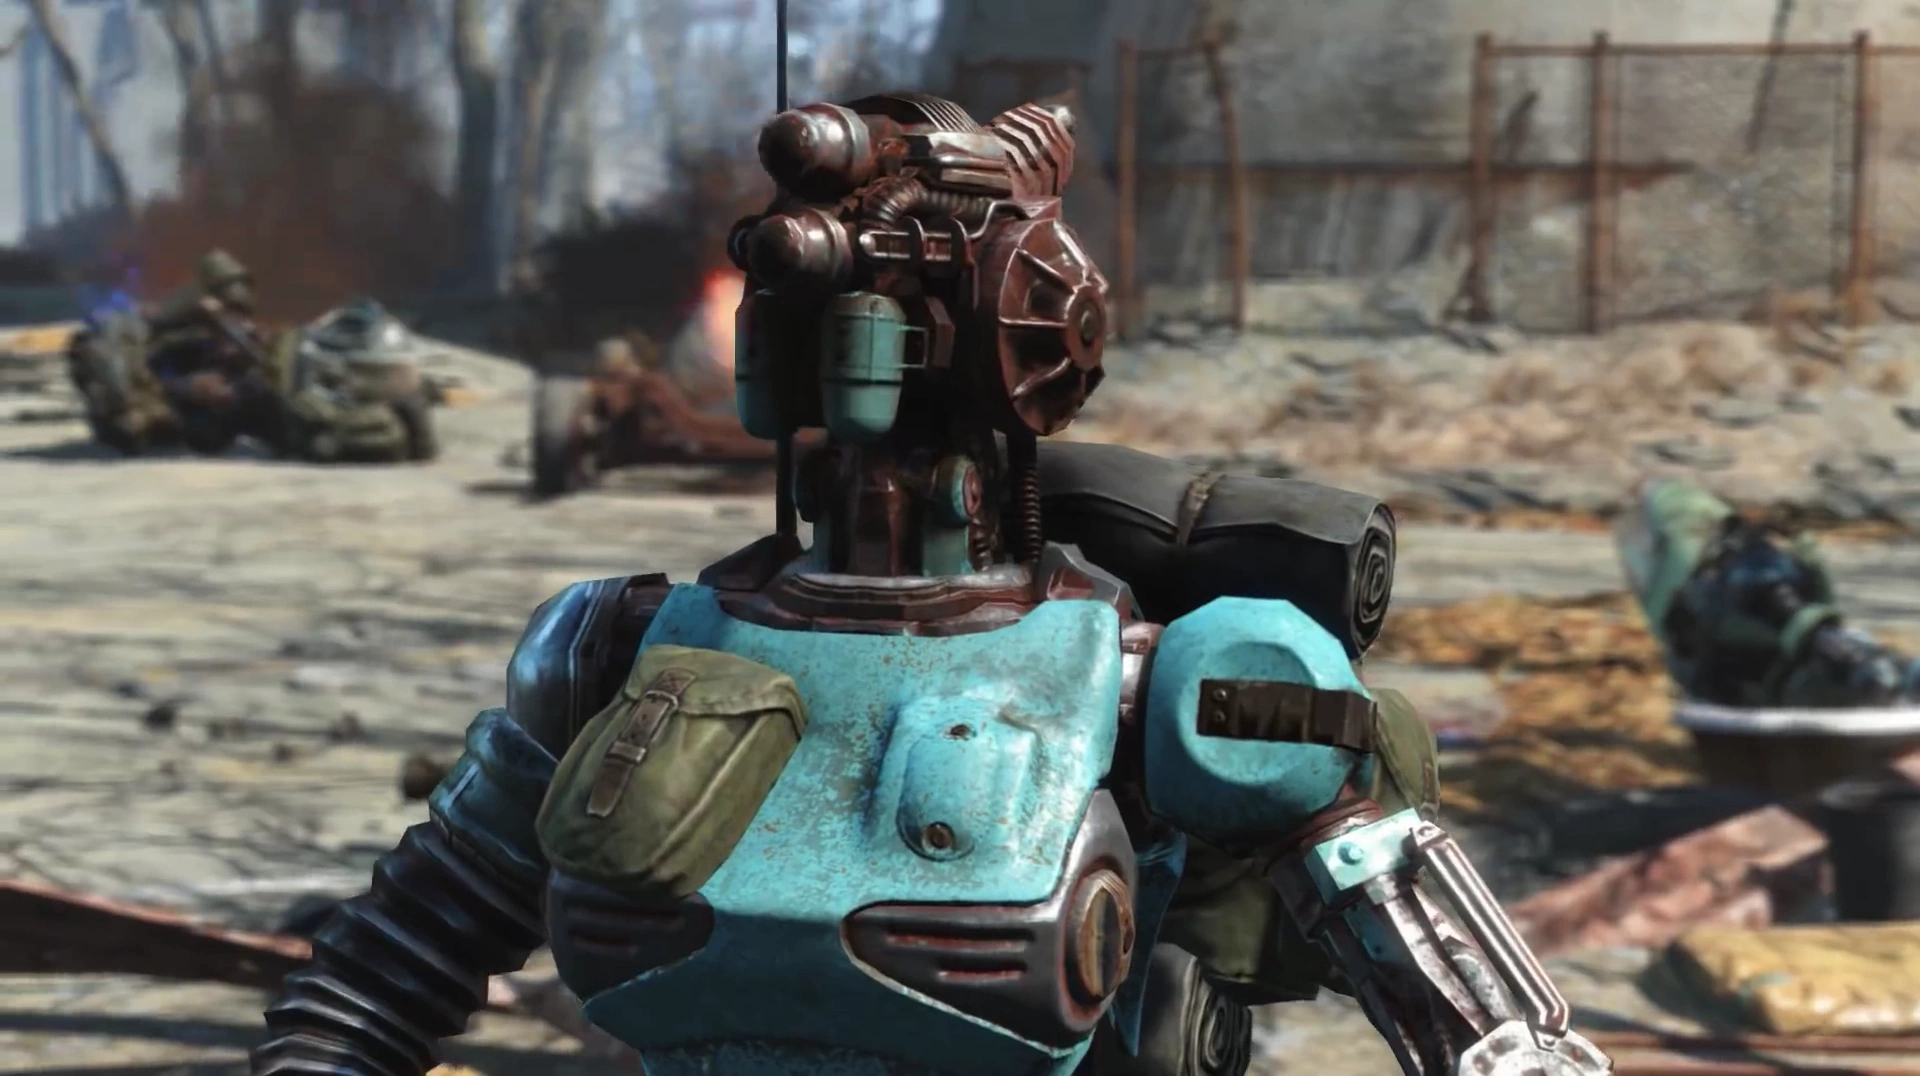
Ada | Variable | Se joint à vous après l'avoir sauvé lors de l'attaque de sa caravane | 9 FO, 5 PE, ? EN, ? CH, ? IN, 10 AG, ? CH | Variable | Automatron quest line | None | Modèle:No |
| Automatron | N/A | N/A | 9 FO, 5 PE, ? EN, ? CH, ? IN, 10 AG, ? CH | Variable | None | None | Modèle:No |
Compagnon du DLC Far Harbor
| Image | Nom | Localisation | Recrutement | Base S.P.E.C.I.A.L. | Point de vie | Quête personnelle | Aptitude | Romance |
|---|---|---|---|---|---|---|---|---|

|
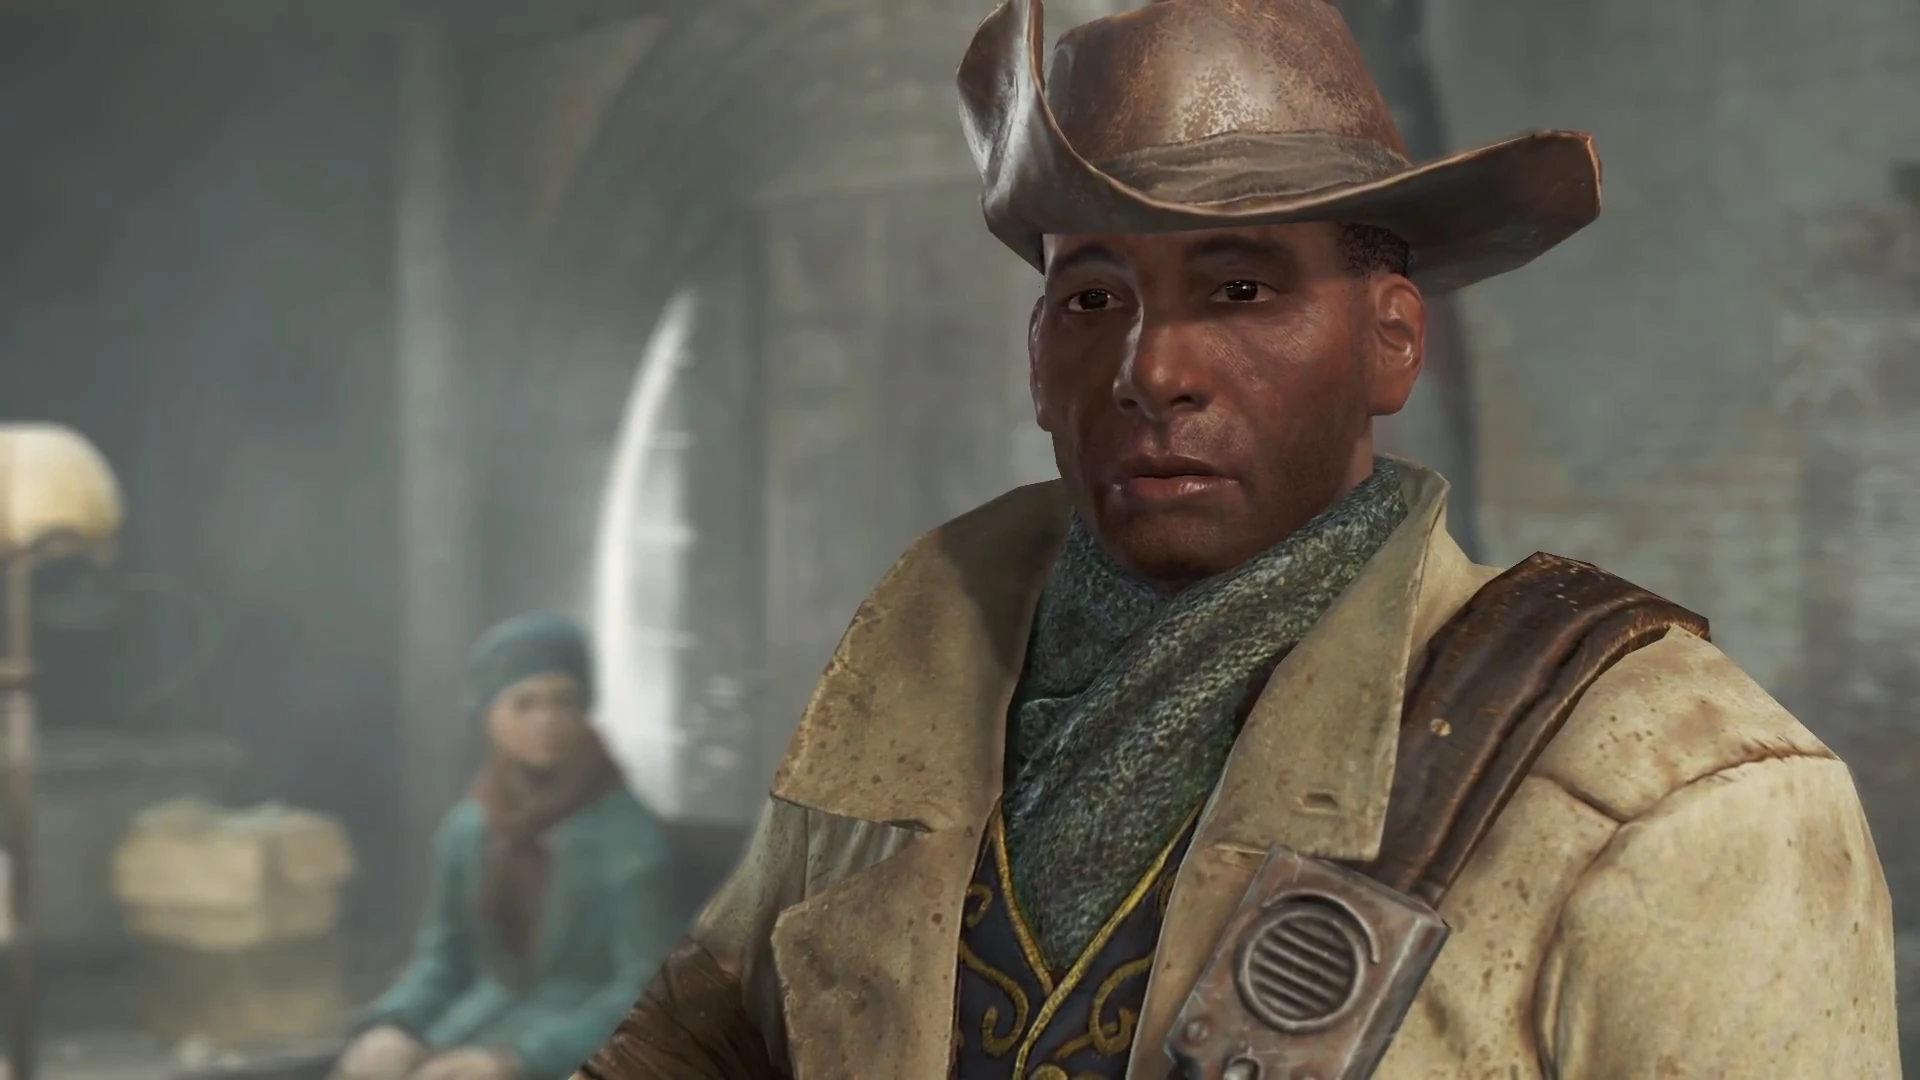
Old Longfellow | The Last Plank | Complete Walk in the Park | 5 FO, 7 PE, 7 EN, 7 CH, 7 IN, 10 AG, 7 CH | Shipbreaker | Hunter's Wisdom | Modèle:No |
Compagnon temporaire
Fallout 4 contient un nombre important de compagnon temporaire croisé tout au long de votre parcours. Ces compagnons sont disponibles le temps d'une mission.
| Nom | Race | Quête | Localisation |
|---|---|---|---|
| Honest Dan | Humain | Human Error | Covenant |
| High Rise | Humain | Boston After Dark | Church close to Bunker Hill |
| H2-22 | Synth | Boston After Dark | Church close to Bunker Hill |
| Travis Miles | Humain | Confidence Man | Diamond City |
| Jack Cabot | Humain | The Secret of Cabot House | Cabot House, Parsons State Insane Asylum |
| Mel | Humain | The Big Dig | Goodneighbor |
| Bobbi No-Nose | Ghoul | The Big Dig | Goodneighbor |
| Sonya | Eyebot | The Big Dig | Goodneighbor |
| Glory | Synth | Memory Interrupted | Malden Center |
| Rex Goodman | Humain | Curtain Call | Trinity Tower |
| Brotherhood squire | Humain | Leading by Example | The Prydwen, Boston Airport |
| Brotherhood scribe | Humain | Learning Curve | The Prydwen, Boston Airport |
| Allie Filmore | Humain | Mass Fusion | The Institute |
| X4-18 | Synth | The Battle of Bunker Hill | Bunker Hill |
| Arthur Maxson | Humain | The Nuclear Option | The Prydwen |
| Paladin Brandis | Humain | The Nuclear Option | The Prydwen |
| Proctor Ingram | Humain | Spoils of War | The Prydwen |
| Billy Peabody | Ghoul | Kid in a Fridge | Peabody house |
| Pearl Modèle:Icon | Miss Nanny | Brain Dead | Cliff's Edge Hotel |
Interêts
Les affinités des Compagnons permettent d'avoir leur approbation ou leur désapprobation selon les actions que vous effectuez. Chaque action a 2 niveaux d'appréciation.
Ci-dessous, un tableau résumant selon chaque compagnon.
A savoir qu'importe l'action que vous effectuerez, Canigou ne portera aucun jugement sur vos actions.
Modèle:Legend
| Table of companion affinities | ||||||||||||
|---|---|---|---|---|---|---|---|---|---|---|---|---|
| General behavior & interactions with other characters | ||||||||||||
| Action | Cait | Codsworth | Curie | Danse | Deacon | Hancock | MacCready | Nick Valentine | Piper | Preston | Strong | X6‑88 |
| Generous | Modèle:No | Modèle:Yes | Modèle:Yes | Modèle:Yes | Modèle:Yes | Modèle:Yes | Modèle:Yes | Modèle:No | ||||
| Mean | Modèle:Yes | Modèle:Yes | Modèle:No | Modèle:Yes | Modèle:Yesdeserved, Modèle:Nootherwise | Modèle:No | Modèle:Yes | Modèle:No | Modèle:Yes | Modèle:No | ||
| Nice | Modèle:Yes | Modèle:Yes | Modèle:Yes Modèle:No with ghouls |
Modèle:Yes | Modèle:No | Modèle:Yes | Modèle:Yes | Modèle:No | ||||
| Peaceful | Modèle:No | Modèle:Yes | Modèle:No | Modèle:Yes | Modèle:Yes | Modèle:No | Modèle:No | Modèle:No | Modèle:Yes | Modèle:Yes | Modèle:Yes | |
| Selfish | Modèle:Yes | Modèle:No | Modèle:No | Modèle:No | Modèle:Yes | Modèle:No | Modèle:No | Modèle:No | Modèle:Yes | |||
| Violent | Modèle:Yes | Modèle:No | Modèle:Yes | Modèle:No | Modèle:Yes | Modèle:No | Modèle:No | Modèle:No | Modèle:Yes | |||
| Sarcasm | Modèle:Yes | Modèle:Yes sometimes |
||||||||||
| Flirt with someone else | Modèle:NoModèle:No if romanced |
Modèle:NoModèle:No if romanced |
Modèle:NoModèle:No if romanced |
Modèle:NoModèle:No if romanced |
Modèle:NoModèle:No if romanced |
|||||||
| Give Drugs | Modèle:Yes before personal quest Modèle:No after personal quest |
Modèle:No | Modèle:Yes | Modèle:No | Modèle:No | |||||||
| Give Item | Modèle:Yes | Modèle:Yes | Modèle:Yes | Modèle:Yes | Modèle:No | Modèle:Yes | Modèle:Yes | Modèle:Yes | Modèle:Yes | Modèle:No | ||
| Murder Non-Hostile | Modèle:No | Modèle:No | Modèle:No | Modèle:No | Modèle:No | Modèle:NoModèle:No | Modèle:No | Modèle:NoModèle:No | Modèle:No | Modèle:No | Modèle:Yes | |
| Speech Success | Modèle:Yes | Modèle:Yes | Modèle:No | Modèle:Yes | ||||||||
| Say good things about Synths | Modèle:Yes | Modèle:No | ||||||||||
| Say neutral things about Synths | Modèle:No | |||||||||||
| Say bad things about Synths | Modèle:No | |||||||||||
| Miscellaneous activities | ||||||||||||
| Action | Cait | Codsworth | Curie | Danse | Deacon | Hancock | MacCready | Nick Valentine | Piper | Preston | Strong | X6-88 |
| Chem Addiction | Modèle:Yes before personal quest Modèle:No after personal quest |
Modèle:No | Modèle:No | Modèle:No | Modèle:No | Modèle:Yes | Modèle:No | Modèle:No | Modèle:No | Modèle:No | Modèle:No | |
| Chem Usage | Modèle:Yes before personal quest Modèle:No after personal quest |
Modèle:No | Modèle:No | Modèle:No | Modèle:Yes | Modèle:No | Modèle:No | Modèle:No | Modèle:No | |||
| Eat Corpse | Modèle:No | Modèle:No | Modèle:No | Modèle:No | Modèle:No | Modèle:No | Modèle:Yes | |||||
| Hack Computer | Modèle:Yes | Modèle:Yes | Modèle:Yes | |||||||||
| Heal Dogmeat | Modèle:Yes | Modèle:Yes | Modèle:Yes | Modèle:Yes | Modèle:Yes | Modèle:Yes | Modèle:No | Modèle:No | ||||
| Modify Armor | Modèle:YesModèle:Yes | Modèle:YesModèle:Yes | Modèle:Yes | |||||||||
| Modify Weapon | Modèle:YesModèle:Yes | Modèle:Yes | Modèle:Yes | Modèle:Yes | ||||||||
| Being naked | Modèle:Yes | Modèle:Yes | Modèle:No | |||||||||
| Pick Lock (Owned) | Modèle:Yes | Modèle:No | Modèle:No | Modèle:No | Modèle:Yes | Modèle:Yes | Modèle:No | Modèle:No | Modèle:No | Modèle:No | ||
| Pick Lock (Unowned) | Modèle:Yes | Modèle:Yes | Modèle:Yes | Modèle:No | ||||||||
| Pickpocketing | Modèle:Yes | Modèle:No | Modèle:No | Modèle:No | Modèle:Yes | Modèle:No | Modèle:No | Modèle:No | ||||
| Theft | Modèle:No | Modèle:No | Modèle:No | Modèle:No | Modèle:Yes | Modèle:No | Modèle:No | Modèle:No | Modèle:Yes | |||
| Use Power Armor | Modèle:Yes | Modèle:No | Modèle:Yes | |||||||||
| Use Vertibird | Modèle:Yes | Modèle:No | Modèle:No | |||||||||
| Reaction to faction quests | ||||||||||||
| Action | Cait | Codsworth | Curie | Danse | Deacon | Hancock | MacCready | Nick Valentine | Piper | Preston | Strong | X6-88 |
| Help Brotherhood | Modèle:No | Modèle:Yes | Modèle:No | Modèle:No | Modèle:No | Modèle:No | ||||||
| Help Minutemen | Modèle:No | Modèle:Yes | Modèle:Yes | Modèle:Yes | ||||||||
| Help Railroad | Modèle:No | Modèle:Yes | Modèle:Yes | |||||||||
| Help Settler/accept Minutemen quest | Modèle:YesModèle:Yes | |||||||||||
| Kill Settler/Railroad member | Hostile | |||||||||||
| Reaction to general quests | ||||||||||||
| Action | Cait | Codsworth | Curie | Danse | Deacon | Hancock | MacCready | Nick Valentine | Piper | Preston | Strong | X6-88 |
| Save Kent Connolly | Modèle:Yes | Modèle:Yes | ||||||||||
| Saying you'd kill Kellogg again, after Dangerous Minds | Modèle:No | Modèle:Yes | Modèle:No | Modèle:No | ||||||||
| Give the egg to the Deathclaw during The Devil's Due | Modèle:No | Modèle:No | Modèle:NoModèle:No | Modèle:No | Modèle:No | Modèle:Yes | Modèle:Yes | Modèle:No | Modèle:No | |||
| Enter Covenant | Modèle:Yes | Modèle:No | Modèle:No | Modèle:Yes | Modèle:No | Modèle:No | Modèle:Yes | |||||
| Side with Covenant | Modèle:Yes | Modèle:Yes | Modèle:Yes | |||||||||
| Side against Covenant | Modèle:No | Modèle:Yes | Modèle:No | Modèle:YesModèle:Yes | Modèle:Yes | |||||||
| Accept Pickman's Gift | Modèle:No | Modèle:No | Modèle:No | Modèle:No | ||||||||
| Give Vault-Tec rep a home | Modèle:No | Modèle:YesModèle:Yes | Modèle:No | Modèle:No | Modèle:Yes | Modèle:Yes | Modèle:Yes | |||||
| Give the Vault 81 cure to Austin during Hole in the Wall | Modèle:No | Modèle:YesModèle:Yes | Modèle:Yes | Modèle:YesModèle:Yes | Modèle:YesModèle:Yes | Modèle:No | Modèle:Yes | Modèle:Yes | Modèle:Yes | Modèle:Yes | ? | |
| Keep the Vault 81 cure to yourself | Modèle:Yes | ? | ? | Modèle:No | Modèle:No | Modèle:Yes | Modèle:No | Modèle:No | Modèle:No | ? | ? | |
| Give Sturges the datatape at the end of Inside Job | ? | ? | ? | Modèle:NoModèle:No | Modèle:No | ? | ? | ? | Modèle:Yes | ? | ? | Modèle:NoModèle:No |
| Complete the research project in Cambridge Polymer Labs | ? | ? | Modèle:YesModèle:Yes | ? | ? | ? | ? | ? | ? | ? | ? | ? |
| Complete Last Voyage of the U.S.S. Constitution | ? | ? | Modèle:Yes | ? | Modèle:YesModèle:Yes | Modèle:No | ? | ? | ? | ? | ? | ? |
| Join Children of Atom during Best Left Forgotten quest | Modèle:No | ? | Modèle:No | ? | Modèle:No | ? | ? | Modèle:No | ? | ? | ||
| Destroy The Nucleus | Modèle:YesModèle:Yes | ? | ? | ? | ? | ? | ? | ? | ? | ? | ? | ? |
Notes
- Unlike Fallout 3, companions are marked as "essential" when acting as active companions, meaning they cannot be killed. If incapacitated, they will automatically heal after combat ends.
- If one is playing in Survival mode, the companion must be healed when incapacitated, even after combat. If they're not healed within a set period of time, or when the player travels beyond a certain distance, they will leave and return to their last used home base.
- Some companions lose their essential status when dismissed. They do, however, remain protected like other settlers and cannot be killed by NPC attacks (only by the player or their active companion or related action)
- Some companions lose their essential status upon reaching the lowest level of affinity and leaving the player character.
- Companions can be directed and can have more options if they like the Sole Survivor a lot, whether being a human, a synth, a dog or a robot. This is influenced by how the Survivor approaches quests and talks to other people.
- Humanoid companions can be ordered to use power armor; to do so one needs to "command" the companion to simply enter the armor. Whether the armor is racked or not, they will walk up to it and enter it. One has to be standing a bit away from the armor; if too close, the command option will change to "enter" and if hitting the activate button, the Sole Survivor will mount the power armor instead.
- To get a companion out of power armor simply talk to them and there will be a dialogue option to ask them to get out of it.
- When the companion is dismissed they will return to the designated "home" wearing the armor, and will continue to wear it until telling them to exit their power armor suit. Sometimes one may find the dismissed companion in the settlement sent to without their power armor. In that case, look around the settlement for the power armor suit as the companion may have exited it and left it somewhere in the settlement. The larger the settlement, the longer or more difficult the search for the lost armor suit may be.
- Humanoid companions can wear power armor without needing a fusion core. If removing the fusion core from the suit, they may still enter it and never need a fusion core. It is unclear if this is intended behavior.
- Humanoid companions can also be equipped with weapons and armor of the choice. To do so, go to the trade dialogue option and place whatever items the player character wants them to use or wear in their inventory. Then, in their inventory, press the button to "equip" the item(s). Weapons equipped must also have an ammunition supply, so they must be provided with the ammo type the weapon requires. Even weapons that use the same ammunition as a companion's default weapon must have ammunition supplied.
- There are some exceptions to this rule: Paladin Danse cannot wear anything other than headgear as long as he has his power armor, Codsworth can wear certain hats, Nick Valentine will only wear his trenchcoat (although an extra one is given to the player. This one can be modified and equipped on Nick), and Dogmeat can wear dog armor, bandanas and eyewear.
- Humanoid companions can and will use all types of grenades when equipped with them. While they possess remarkable skill and are fully capable of hitting even moving targets with astounding accuracy, they are completely oblivious of any collateral damage they might inflict on allies caught in the blast radius, the Sole Survivor included. Investing at least one point in the Inspirational perk is therefore recommended before equipping companions with grenades or any explosive weapon for that matter.
- All companions carry 150, except Strong 200, and Danse 210.[1]
- It is possible to make companions wear pocketed armor to increase their max carrying capacity (+30 pounds with the basic pocketed armor modification).
- There is a skill magazine perk that will increase the companion carry weight by 10.
- Dogmeat does not count as a companion for the purposes of the Lone Wanderer perk, therefore the Survivor can adventure with him and keep the benefits of the perk.
- Traveling with a companion bestows the player character with an inherent 5% bonus to all Experience gained. This bonus can be further increased by acquiring Live & Love Issue #8. These bonuses are multiplicative with other experience bonuses such as Intelligence and Gift of Gab.
- When choosing a location to send a dismissed companion, selecting 'Cancel' will not cancel the dismissal, but will instead send them back to the last location they were sent to when dismissed. If no settlement has ever been selected, the companion will be sent to their original location rather than a settlement.
- If one accidentally dismisses a companion, just walk up to them again and ask them to re-join. One must also confirm the companion's desire to re-join after asking.
- Danse, X6 and Deacon are the only companions who can be killed by the Sole Survivor if they're not following the Survivor.
- Perks gained from companions are permanent. This holds true regardless of the status of the companion (e.g. hostile towards the player character, dead, etc.).
Bugs
- Modèle:Platforms A companion may become stuck in a "crucified" position, flying around about 1-2 feet off the ground following the player. The companion can be spoken with and interacted with in a normal manner, however the companion will not fight. Even loading a new area by going through a door will not fix this behavior.Modèle:Verify
- One potential fix is to fast travel to another location.
- Modèle:Platforms Certain sound effects can get "stuck" to companions and continue to play after said companion quit performing the respective action. Known examples include the sound of wielding a Ripper, firing a Gauss rifle and using the weapon bench's drill. When the bug occurs it follows the companion around, waxing and waning depending on their distance, and can neither be stopped by fast-travelling, reloading or taking the weapon away from them. It can, however, be fixed by closing and restarting the game. It is currently unknown what exactly causes the bug. Modèle:Verified
- Should the Ripper sound be playing over and over, having the companion use the weapon again may fix the bug. Modèle:Verify
Références
Modèle:Navbox companions FO4